In part one of this post I had reflected on my performance in my reflective practice presentation, it wasn’t really the best experience, but you can click here if you would like to read more about it. In this post, I will be going through each of my slides along with the script I made, but I have added more detail as I am able to go into more depth on my blog, but in the presentation, I did have a time limit so the initial script was more brief. If you have read my previous post then you will know how well the script and time limit worked for me.

1
For this final year I had set myself goals that I wanted to achieve.
I created two learning plans for both semesters, the reason for this is that with semester one I had more of a plan than I did with semester 2, for instance I knew which competitions I would be doing and had a better idea of when they would be released.
Starting with learning plan one. I wanted more experience and confidence with traditional mediums, as I have tended to work more digitally in the past.
Another goal was to work with more narrative based projects, creating book covers or illustrating stories, as this is an area my portfolio that was lacking, and I wanted to expand.
If you would like to read more about my learning plan for semester one, you can click here.

2
In the first project, Inktober, I had created an inked illustration every day for the month of October.
I used fine liners for the line work and then with a brush and water, I bled the ink which allowed me to create tone and shadows within my characters.
I chose to illustrate flower girls as this was imagery I was confident with, and a theme which I believed would last me the full month.
Other than viewing previous art for Inktober, there was not a lot of research needed for this project, but I had used reference images of women and flowers to help inform my designs.
By the end of this project I did feel a lot more confident with the medium. There were a few times where the ink may have bled or faces/features may have been drawn wrong, but I was able to fix these errors digitally and I was able to create a zine of the 31 illustrations which I have sold since. If you would like to purchase a zine you can have a look at my store at: www.melon-r.com/shop-1
3
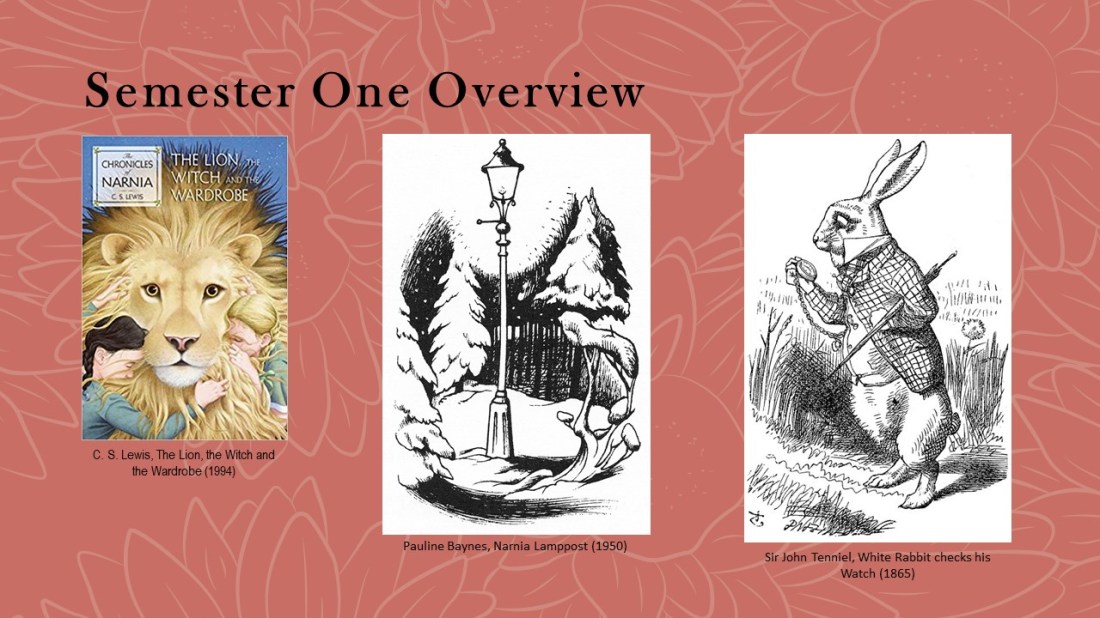
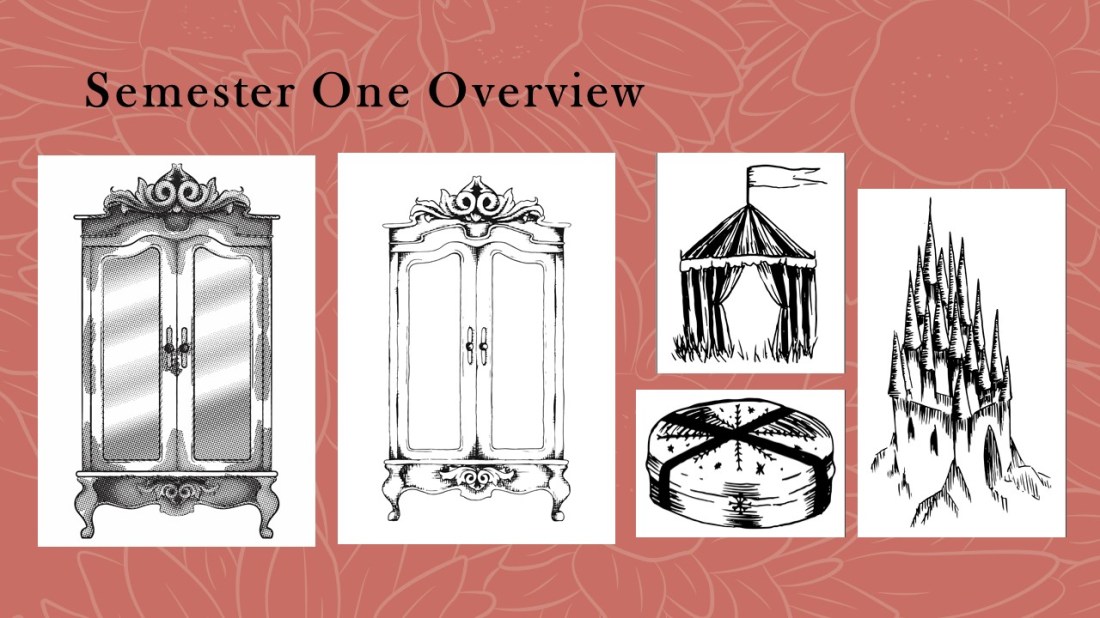
Moving onto the next project: the Lion, the Witch and the Wardrobe, I wanted to experiment with multiple printing techniques to give me more experience for potential output methods that I could use in the future. I also wanted to work with more narrative, following the goals set within my learning plan.
For research, I quoted directly from the book so that I could create accurate depictions of the story, rather than creating illustrations from the imagery I already knew. Initially, I was inspired by Sir John Tenniel and his intricate line work but had later found Pauline Baynes, who was the original illustrator of the Lion, the Witch and the Wardrobe, had worked in a similar style, but she had incorporated colour into her designs which I did not want to do with my own design so I felt my designs would still be different from illustrations already created for the story.
4
When I first started this project, I felt I had started strong, using the wardrobe imagery to test out each of the printing methods, I.e. screen-printing, etching, using a laser cut plate and lino printing.
With the inclusion of more projects, however, I do feel I lost momentum and felt like I rushed the pieces to the right in the last couple of weeks/days.
Given more time I would’ve refined the last pieces by creating them in illustrator, drawing the line work by hand then using the laser cut method to print them, as I had felt this was the best and cleanest methods from my wardrobe print tests. I believe the addition of illustrator would have made the pieces more proportional, fixing the errors within the symmetry and potentially making the linework straighter and cleaner.

5
My next project was the House of Illustrations Book Illustration Competition. I had to create a set of 3 illustrations and a book cover for howls moving castle. Again this was narrative based brief, so it fit within the goals of my first learning plan. The only research that I had done for this project was just reading the book so that I again, could create an accurate depiction of the story, as opposed to working with content I may have already seen, for instance with Studio Ghibli’s adaptation of the book. (If you want to know my opinion of the original book and the movie adaptation, also listing the differences between the two, you can read about that here.)
Not researching other artists and styles may have been my downfall during this project as I did struggle when creating the pieces as I didn’t have a strong concept of the styles I wanted to use. I did, however, enjoy my choice of colour palette, as it is easy on the eyes and translates the themes of the book well, showing the magical essence without it being too being direct. The palace piece is my favourite, as I love the symmetry and perspective and it is how I had envisioned the king’s palace within the book. I have been able to translate my thoughts onto the page.
6
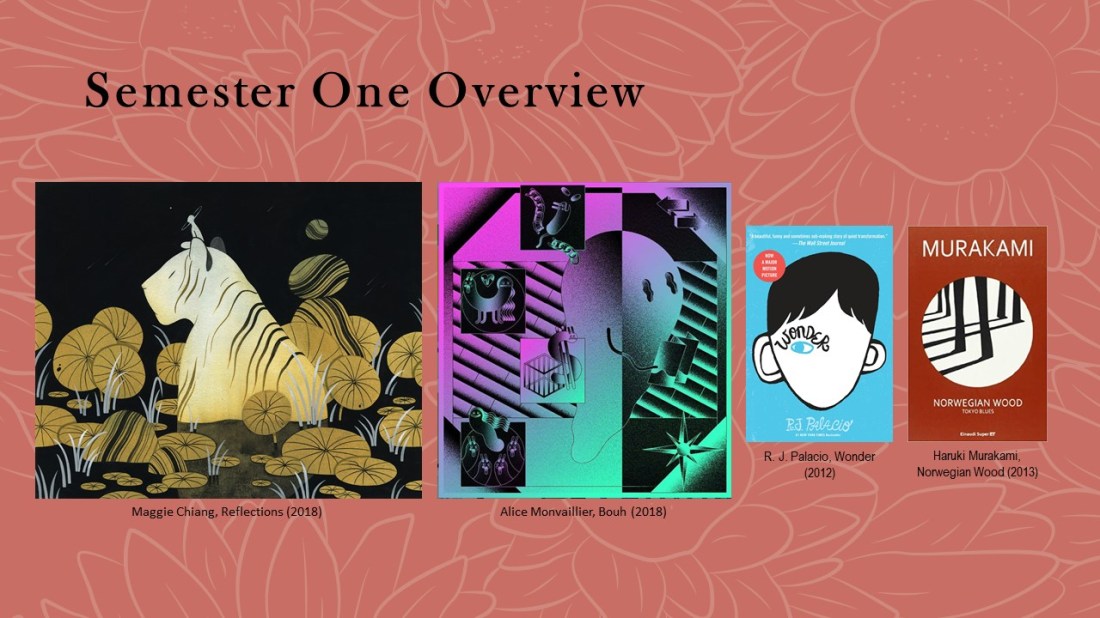
For the next project which was also a competition, this time for the Penguin Student Design Awards, I created 2 book covers for 2 separate categories; the adult’s fiction which was Norwegian Wood and the children’s book was Wonder.
For research I looked at entries from previous years, looking for common trends that I could potentially apply to my own work. I had noticed that a lot of the covers were minimal, and some had a noise effect applied, this had led me to think of artists such as Maggie Chiang and Alice Monvaillier as I believed their styles would work well among the other entries, so would be a good source of inspiration for myself during this project.
Again, I had read both of the books as research. This allowed me to get a better understanding of the stories so that I could know the type of content I would be creating for the covers, especially considering both books have completely different themes and audiences.
7
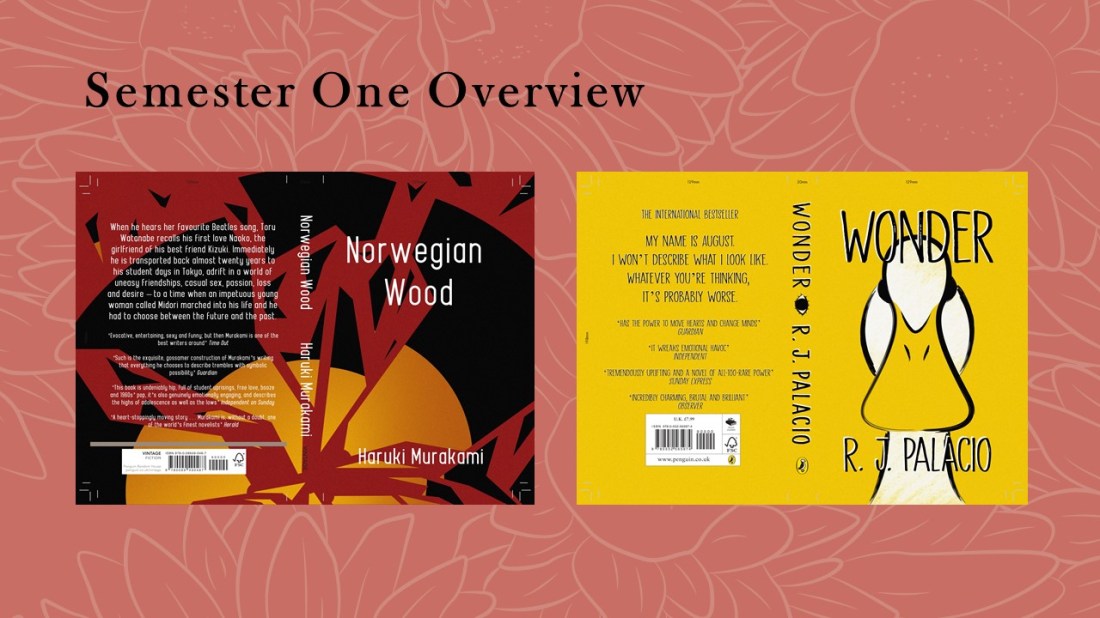
These are the two covers I created. I did complete them within a short amount of time, but I don’t feel as if they look rushed and I feel like these are a lot different from my usual style, as they are minimalistic within the colour pallets and imagery, which are styles/palettes that I have tried to dip into but have not fully achieved until these two creations.
I had struggled a lot with the text and titles, being able to make them readable against the illustrations. In the future, I will consider the type a lot further in advance so that I can work my illustrations around the text, instead of just trying to work the text around the images as I had in this project.
8
My weaknesses from the first semester were definitely to do with my time keeping and having too many projects in general which ended up overlapping, causing me confusion and stress.
From the first learning plan, I did achieve the goals I had set, working more traditionally and creating more narrative based pieces, so in the next learning plan my goal was to still try working more traditionally, this time using pencils, but I also wanted to create more thought-provoking pieces, that could potentially lean more towards the area of editorial.
I also wanted to use the last semester to focus on my branding, this would mean making a website, business cards, promo packs, merch etc. So that I had a base that I could grow from once I’ve finished the course.
From this point onwards, I vowed to not overlap any more projects, focusing on just one at a time. With the time plan I created for semester two, I was going to work more loosely with it, not having anything set in stone as at that time I still didn’t know when the competitions would be announced.
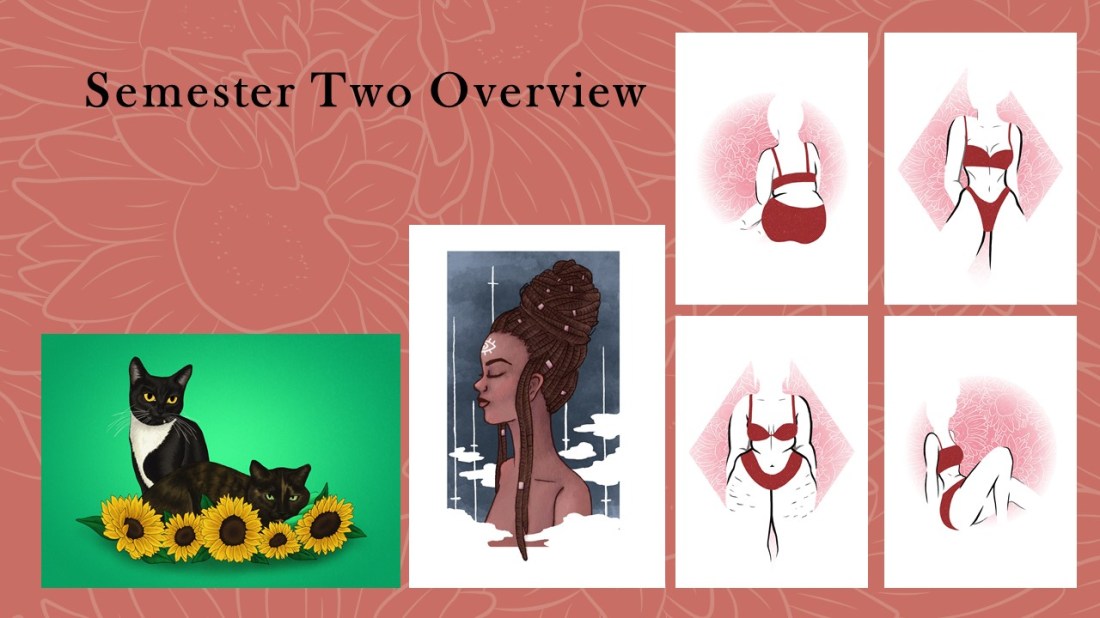
9
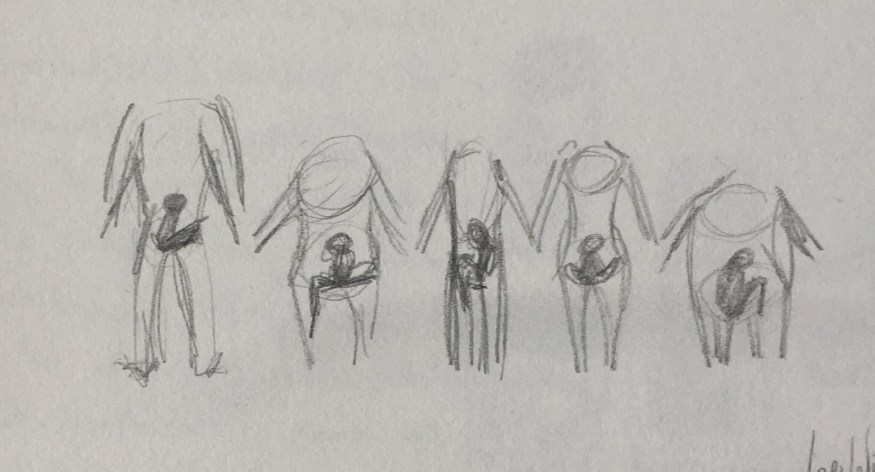
These are unplanned side projects which I ended up spending more time on than I necessarily had.
The first on the left was a commission piece for my friend.
The second was a ‘draw this in your style’ challenge in which I had to recreate an artist’s drawing in my own style, the piece here being a recreation of Chelsea Gracei’s work.
Then the final pieces on the right were a collection I created for ‘A Canny Collective’ which was a local exhibition that I was asked to be a guest artist for.
Although I had spent longer on these pieces than I should have, I do feel like I gained a lot of experience from them, especially with the exhibition pieces, as there was a whole process of creating the pieces and setting them up within the space, but I also worked on the stall on the opening night, so I was able to gain more experience of selling my own and others work one to one, which is something I do believe I will do again in the future. All of these pieces will also go towards my portfolio, hopefully allowing me to show more range of style, techniques and skill within it.
10
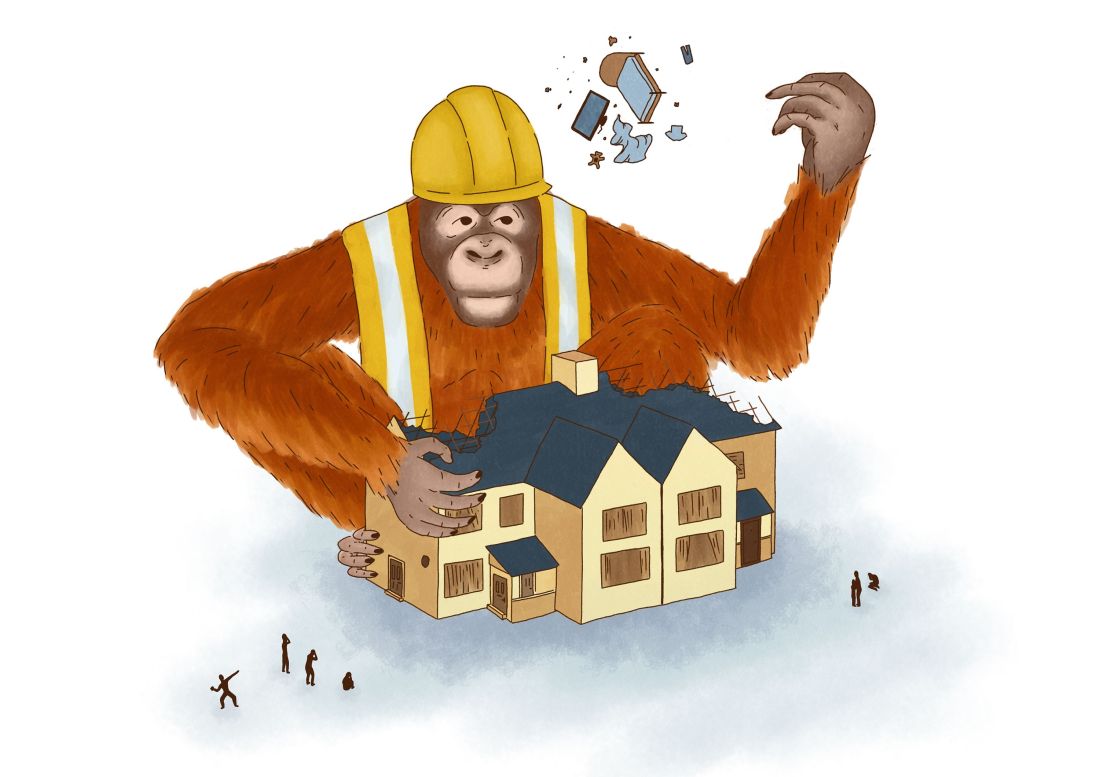
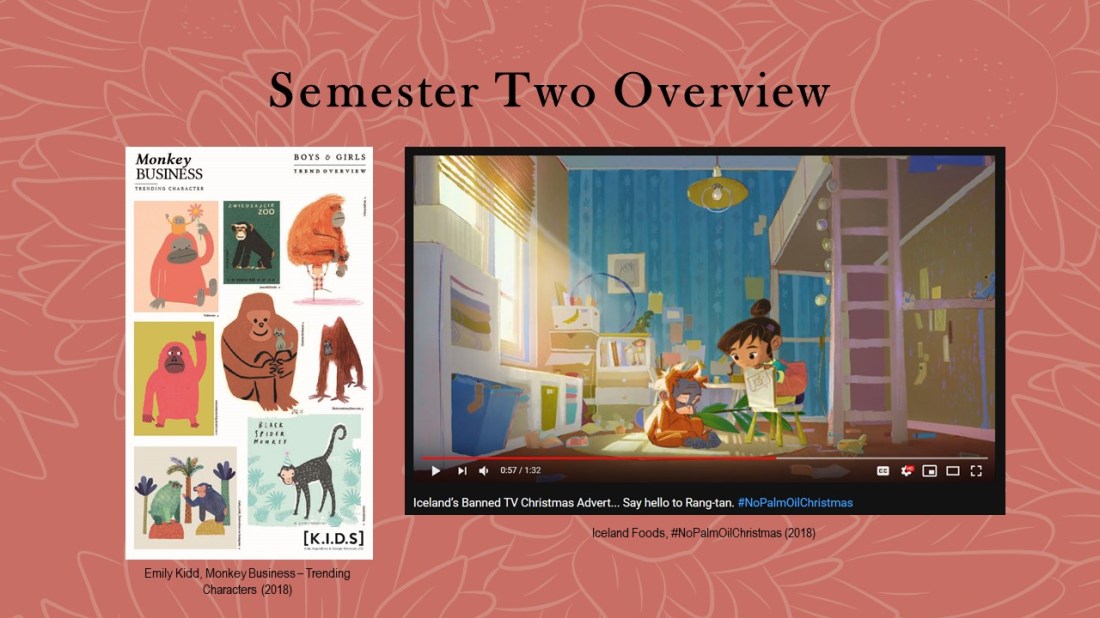
My goal with this specific project was to create a more thought-provoking illustration, which links back to the goals I set in my second learning plan.
For the Northern Illustration Awards, a competition by the AOI, the brief was ‘monkey.’ When searching Pinterest for inspiration I came across the image on the left, and in the corner saw an orangutan which had been created in a looser style which helped suggest the animal’s fur. I wanted to work in a similar style to create my own monkey, but I did want to use a stronger theme. Thinking of Orangutans, it had reminded me of the banned Iceland advert, in which it discusses the destruction of rainforests (the orangutan’s habitats) for palm oil.
11
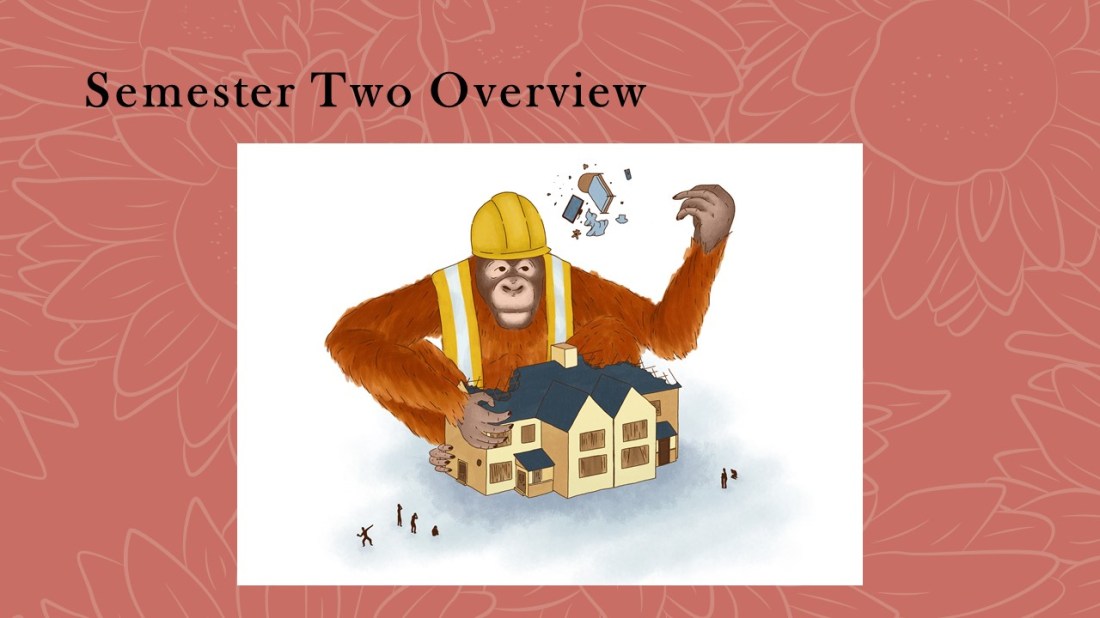
Within this piece, I wanted to show a role reversal between humans and the orangutans, they being the ones that are destroying our homes with such carelessness instead.
I enjoyed working on this piece as it was more experimental and I was able to work more loosely. I was able to play around with different brushes, (in the end, I had used a gouache brush for the fur and a ‘scratchy pen’ for the linework, both from Kyle T. Webster brush packs) and these, in turn, allowed me to build up my own impression of fur, which helped give a sense of realism but the style was still loose and quite painterly for digital art.
I designed this piece to fit within a white page, so it is more minimal in that sense, but this factor could potentially make it more editorial as I could imagine it fitting within a magazine as an illustration for an article.
With this illustration, I had recorded the process and created my first ever YouTube video which was a speed paint of this piece. I do want to carry on uploading more speed paint process videos, potentially giving more information in the form of a voice-over, but one day I do want to live stream as well as/opposed to recording, as I believe I would prefer to talk live to an audience, having an active conversation as I go, rather than feeling like I am talking to myself in a voice over.

12
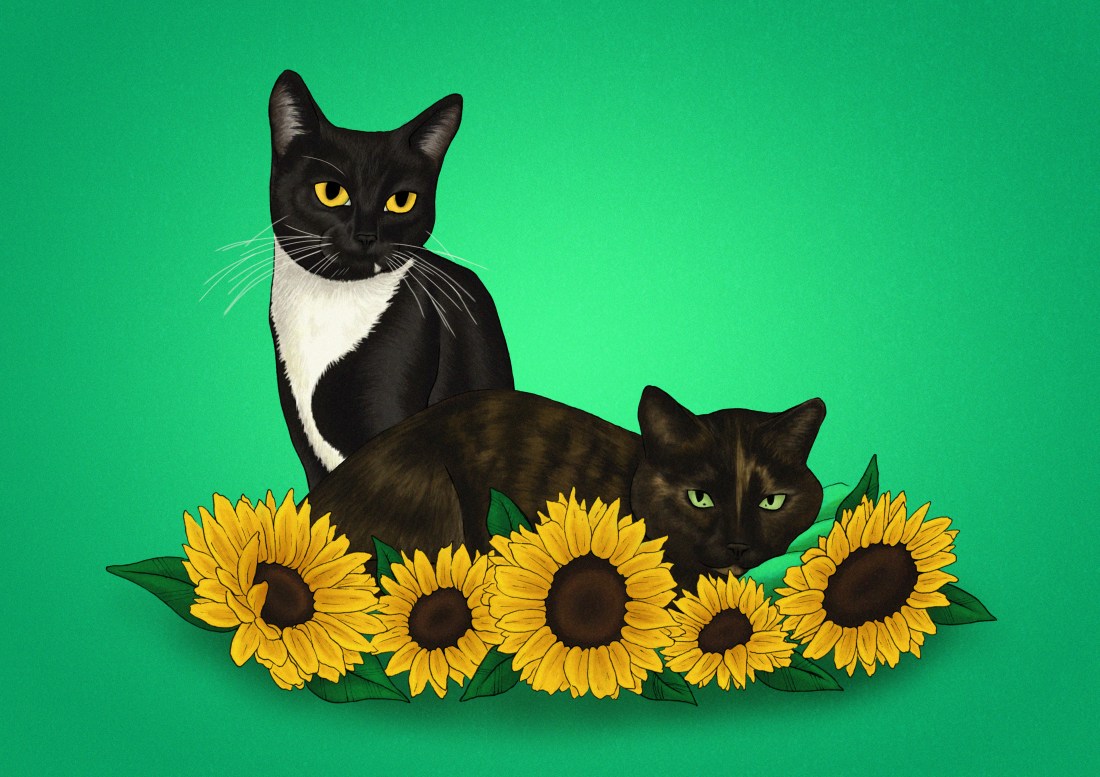
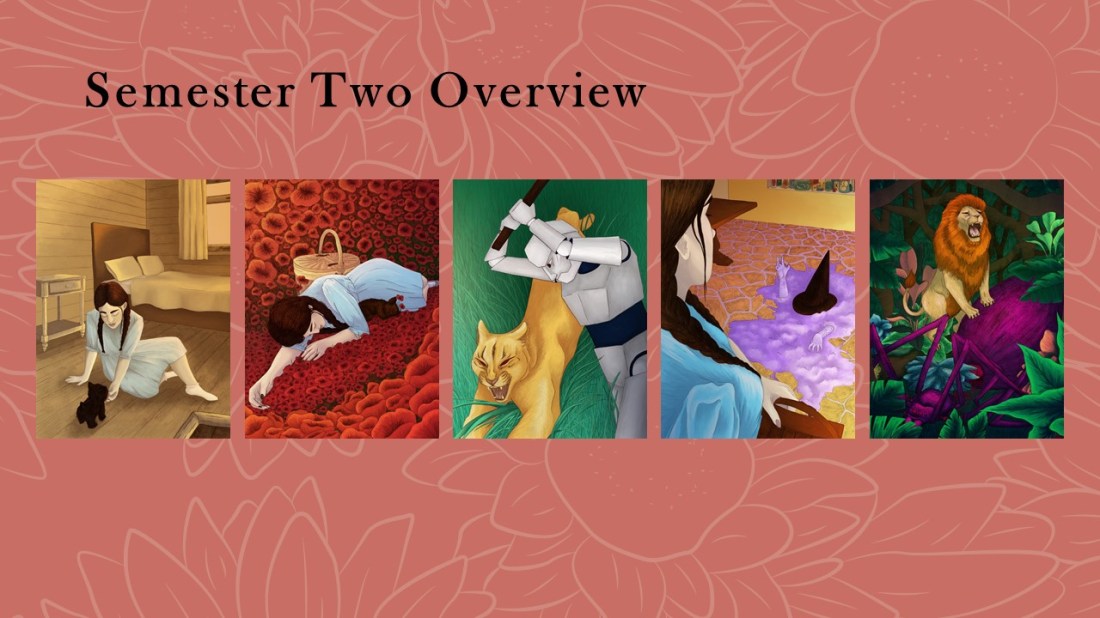
The next project was the Wizard of Oz, my goal with this project was to work more traditionally using pencil and then colouring the pieces digitally as I believed it would give me a better choice in colour palette. With this project, I did want to work with a more fun and vibrant colour palette than I may have used before, as I wanted my pieces to suit the colour themes suggested within the story, such as ‘Emerald City’ and the ‘yellow brick road’.
The idea for the mediums and techniques were initially inspired by Tina Nass, but as my project developed and I moved to a more realistic style within the project, I tended to take more inspiration from an artist named Chantal Hores as she still works with the same mediums and techniques as Tina Nass, however her style is more realistic, especially with her characters.
Again, my research had come directly from the book, finding quotes that would allow me to create an accurate depictions as possible, but in this project I did find it more useful as the movie adaptations were not completely true to the descriptions within the book, for instance, the famous ruby red slippers were actually silver in the story.
13
These pieces have come a long way from the start, as I had originally sketched them out in a layout that looked flat and boring, I later repositioned and redrew the pieces using my own reference photos, as well as reference images online (more so for the animals) which allowed me to create more organic and dynamic viewpoints within my illustrations.
I’m extremely proud of the outcomes as there is a strong narrative throughout, one that I wouldn’t have thought that I would have been able to achieve at the beginning of the year. I love the colours as they are vibrant and express the themes of Oz. I did try to stay away from the known imagery when working on these pieces, and I do believe I’ve created my own unique interpretations of the story.
I loved the style of work and mediums that I had used and I hope to use them again more often in the future. If I find myself in a spot again where I feel my composition or layout of a piece is a bit boring, I will try to take my own reference images again, exploring different viewpoints and angles etc, so that I can potentially create more dynamic illustrations which are less boring and flat in the future.
14
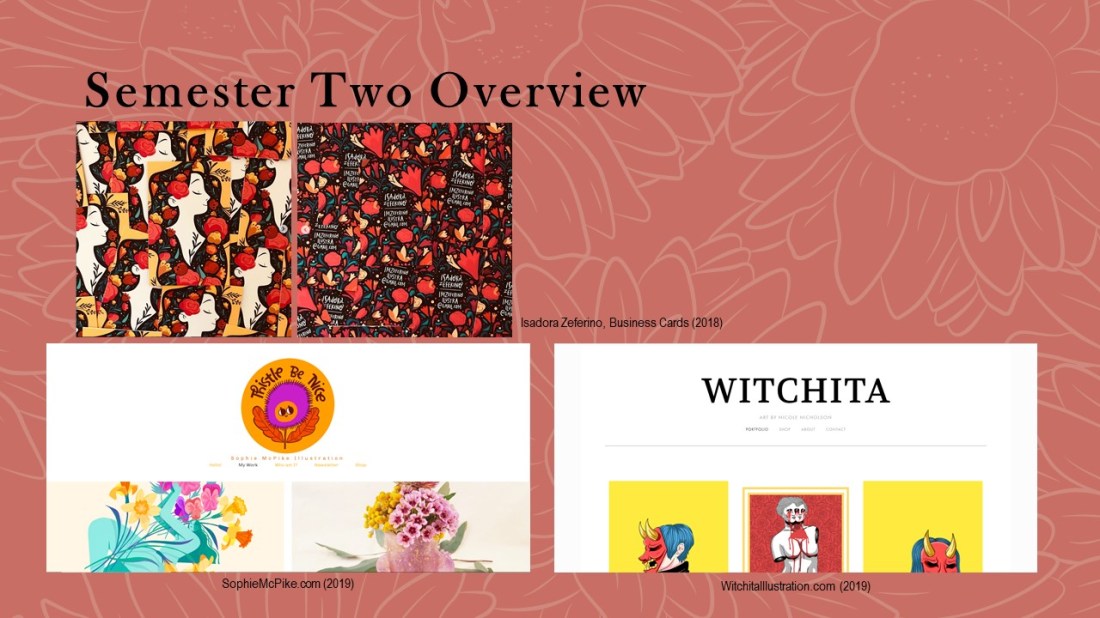
Branding has a lot of components within it, for instance I needed to create business cards, a website, a portfolio, creative CV and products and all of these would go into a promo pack which would be sent off to potential clients and or agencies.
As far as research goes, I initially started the process of creating my business cards within semester one, so that they could be sent off with my zines. I was inspired by an artist named Isadora Zererino as on her cards she has an illustration on the front and her information on the back, they are also portrait, which is something that I hadn’t seen very often and this is how I wanted my own to be laid out.
When creating websites, I was researching as I was going, looking at how other artists laid their work out, what their buttons were, how they ordered them, and how they described themselves in their about pages etc. For this, I had used Sophie McPike and Nicole Nicholson’s (who is a student in my class and made her site first) websites as inspiration. I also took information from a talk we had with someone from AOI who had explained that a client will make their impression of you within the first couple of seconds of looking at your website, so it’s good to have 6-9 pieces on display on the front page.
15
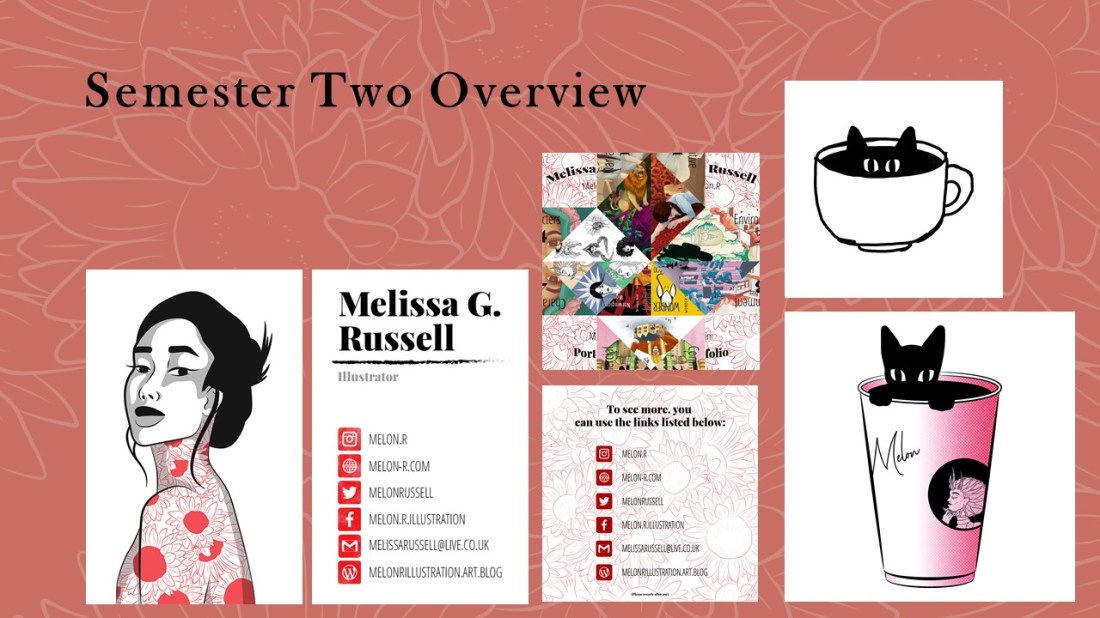
On this slide, to the left, I have shown my current business card with my website included which wasn’t present in semester one.
A mini-portfolio, which is actually a paper fortune teller. I felt this would be an interesting piece for someone to receive in my promo pack as it is a unique way for them to view mini clips of my work. On the back, I did provide links so that the receiver would be able to look at my portfolio more in depth, seeing the pieces that I have cropped down for this mini-portfolio in more detail.
The two pieces on the right side are merchandise ideas. On the top is a sketch of a potential pin. I want to create these in wood using the laser cutter in the workshop as ordering enamel pins is not in my budget or audience range at this moment in time. Maybe in the future, if I do build more of an audience, I could have a pre-order or made-to-buy system which would allow me to make a profit and would ensure that none would go to waste.
The second image on the right is going to be a sticker, potentially a little print.
16
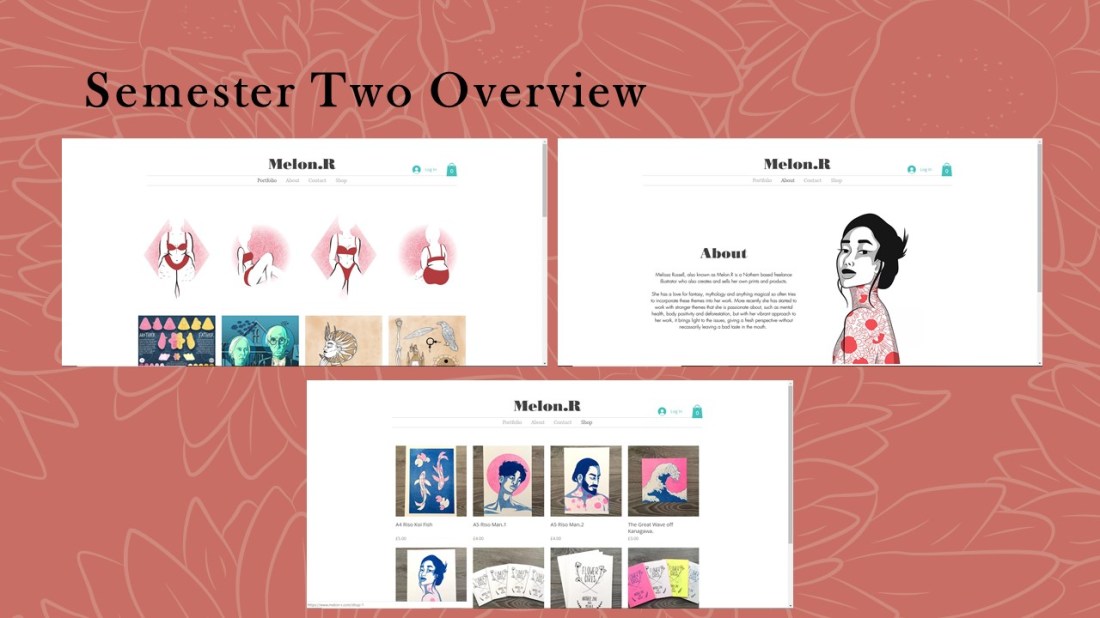
These are pages from my website. I still have work that needs to be added to the portfolio but I will want them to fit within a layout that is organised by colour or theme, which I believe will make the website more aesthetically pleasing to the eye, so I can potentially catch a client’s attention within the first couple of seconds, as the member of AOI had suggested. The website also has a shop which I do plan to work from in the future.
17
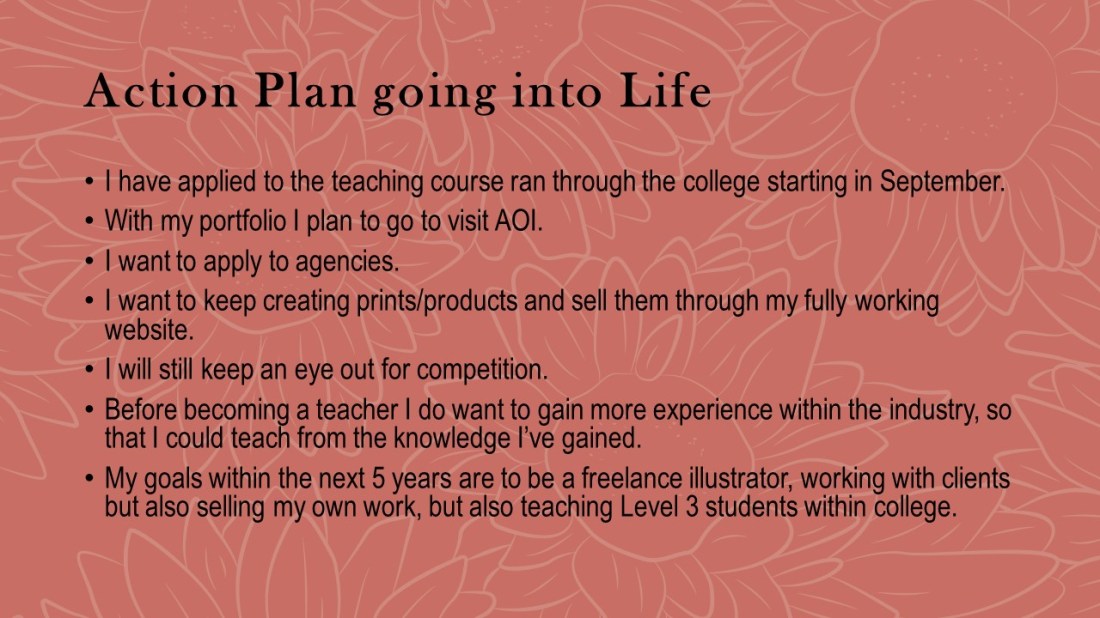
Going into the future, I have applied for a teaching course within the college that will start in September. Before teaching properly, I do wish to have more experience in the industry so that I can teach from my knowledge and experience that I may have gained.
With my portfolio, I plan to visit the AOI to get a review and more information about which direction it should go, if I need to take anything out, if I need to add anything more and so on.
I will also be applying to agencies hoping to get more freelance based work.
I will be continuing to create products and selling them through my website.
I will still try to keep an eye out for competitions.
I will also continue creating YouTube videos, ones that are more in-depth with voiceovers added. I also want to live stream more, having a more relaxed experience, potentially talking one to one with my audience as I create my work.
Overall my goal for the next 5 years is to be a freelance illustrator, working with clients and potentially have an agent. I will also be creating and selling my own work on the side, as well as hopefully teaching level 3 students within a college.
18
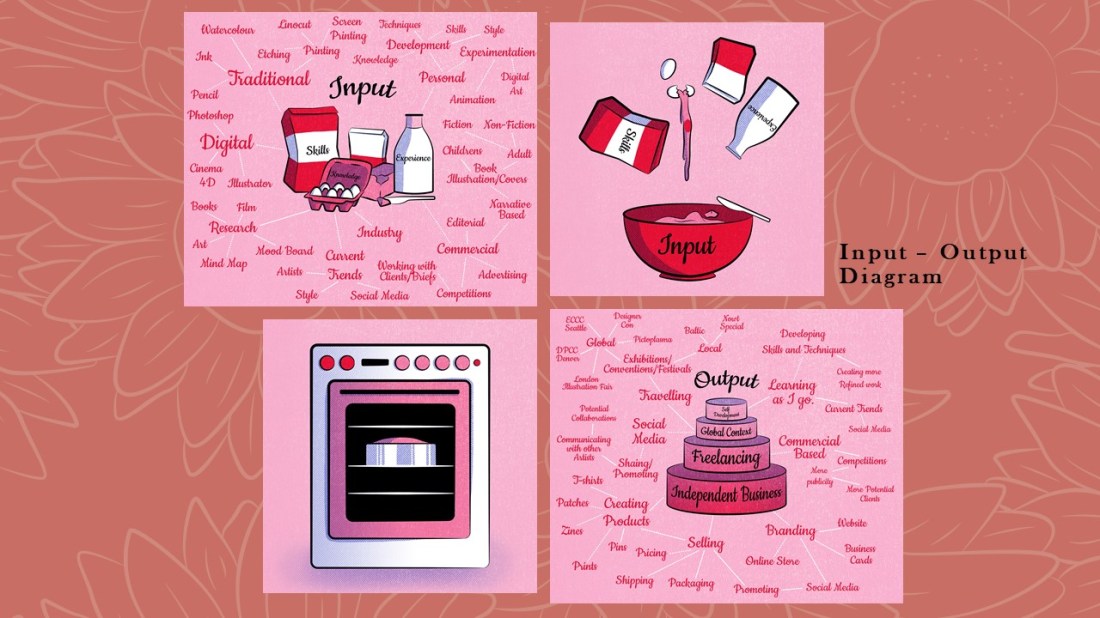
Following on with more self-reflection, I created a couple of diagrams within the space of the year that are up on my blog. This one is an input and output diagram, it describes the skills, knowledge and experience that goes into my work and what is output from it, being anything to do with business, freelance work, self-development and live briefs.
If you would like to read more about my Input-Output diagram, click here.
19
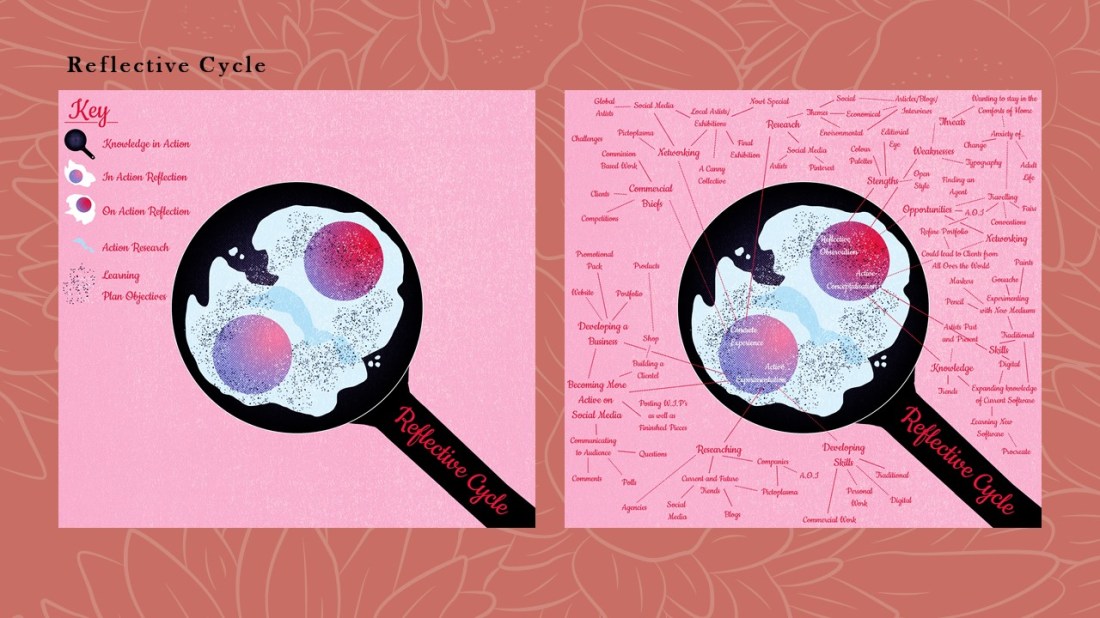
This next diagram is my reflective cycle, it shows my process of planning a project, the research that goes into it, my action plan, the actual practical work and the experience from said practical work. This then carries on and the cycle starts again.
The explanations of both of these diagrams are on my blog, as I wanted to have an easier explanation for someone who may not understand these types of reflective practices, but may want to understand my process of working, thinking etc.
If you would like to read more about my Reflective Cycle, click here.
20:
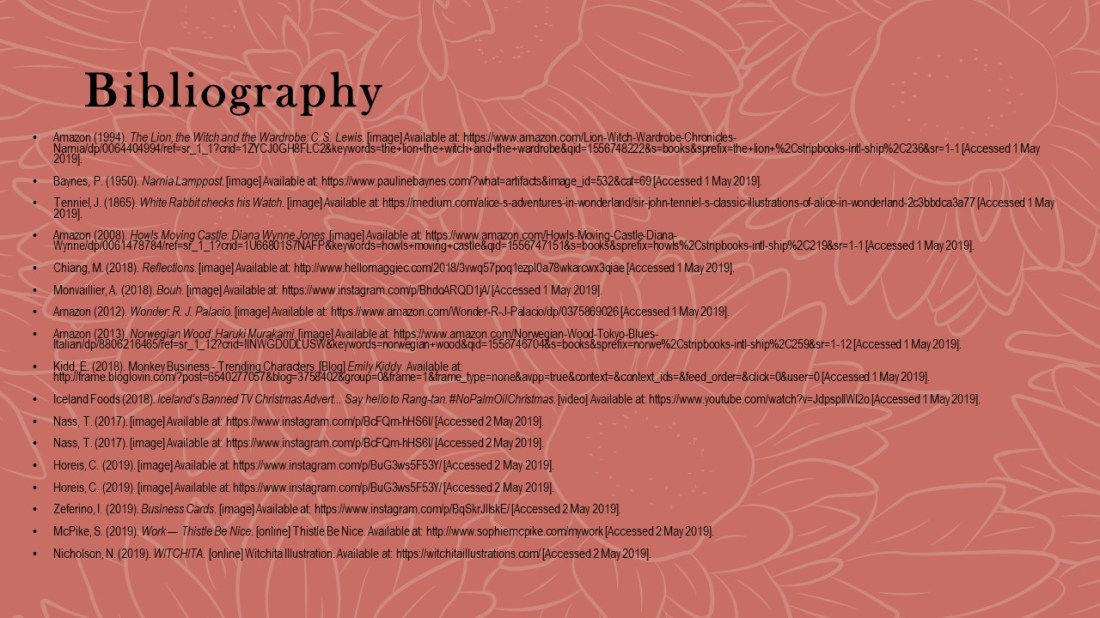
This is my bibliography. Thanks for your time do you have any questions?
Although this was more directed at my presentation if you do have any questions feel free to comment and I will try to answer as best as I can!
List of Illustrations